Exploring the naked skin of the earth may be the most informative journey you can make when designing a new landscape or trouble-shooting problems that might originate underground. Digging a hole in the ground and looking, touching, measuring and analyzing is fun, informative and joyously messy.
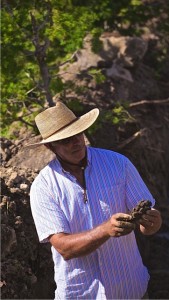
Feel textures, see colors, smell and feel moisture, check-out root size and quality. Now you’ve transformed a two dimensional world into a richly detailed sensual kaleidoscope that tells how deep roots can grow and remain healthy, and whether water loving or drought tolerant plants are best adapted to the spot where you dug.
When do you need to dig a soil pit? I usually dig pits prior to designing a new landscape or installing a new tree or shrub in an area that hasn’t been planted in before.
 What can you find from soil pit analysis? Root depth is the most important thing found; how deep do roots grow in this soil, where, how, and how often to irrigate is another important detail that comes from knowing where the roots grow in a particular soil.
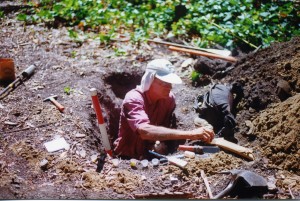
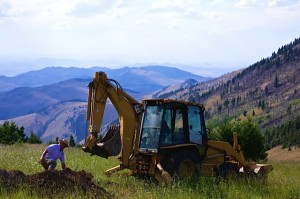
How do you do it? Always, always, always call “811” to make sure there are no gas, electric or other interesting lines running through your pit zone. Then I always like to mark out the dimensions of a meter, and start digging! I separate out each foot of soil in discrete piles, for future sampling and analysis, and anytime I hit something different, roots, rocks, etc., I note it, along with the depth.
How deep? I like to go below the rooting zone, to see what’s there, but essentially, you can stop once you reach the maximum rooting depth. Most of what we need to know will be found between the surface and the bottom of the rooting zone.
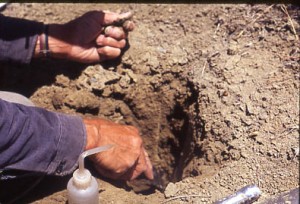
What else? It’s always nice to see how long your pit takes to drain, especially if you stopped at the bottom of the rooting depth. First break up the pan you created by standing in the pit and digging the hole. Then fill it up and see what happens. If water stands for more than an hour there may be drainage problems that need further investigation.
And you can also;
- Figure out what your texture is by feel . Make sure to analyze each discrete layer separately.
- Do chemical analysis on the top foot, by submitting sub samples to a local soils lab, Selected Plant and Soils Labs in Northern and Central CA.
- Analyze soil microbial populations, sampling with an apple corer and submitting samples to Soil Food Web.
Make sure that every step of the process is used to understand more thoroughly what the soil you work with is; smell it, touch it, measure it, analyze it – it’s your living skin!


